
Mini-split systems are among the most effective ways to add efficient, flexible climate control to a home, and in Decatur, GA, where summers are long and humidity is a constant factor, getting the installation right makes a measurable difference in performance and operating costs. From the established neighborhoods near Clairemont Avenue to the homes along Ponce de Leon Avenue, a properly installed mini-split delivers reliable comfort for 15 or more years. This guide walks through what a professional mini-split installation entails, why each step matters, and what homeowners should know before the work begins. Our ductless mini split installation services follow every step outlined here.
Understanding Mini Split Systems and Their Benefits
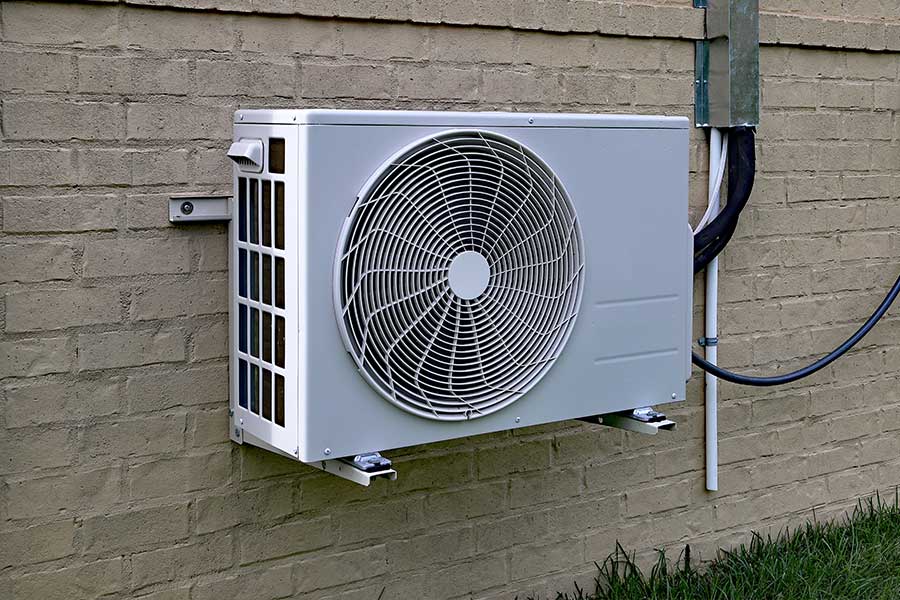
A mini split system consists of an outdoor compressor unit and one or more indoor air-handling units connected by a refrigerant line set, electrical wiring, and a condensate drain line. Because there is no ductwork, energy losses from conditioned air leaking through or traveling through leaky or poorly insulated ducts are eliminated.
The core advantages that make mini splits a strong choice for Decatur homes include:
- Zoned comfort: Each indoor unit operates independently, allowing different rooms or areas to be set to different temperatures without affecting the rest of the home
- Energy efficiency: Without duct losses and by conditioning only occupied spaces, mini split systems typically use less energy than central systems for the same level of comfort.
- Installation flexibility: No ductwork means these systems can be installed in spaces where running ducts would be structurally difficult or cost-prohibitive, including room additions, converted garages, and historic homes
- Quiet operation: The mechanical components that generate the most noise sit outdoors, and indoor units operate at very low sound levels
- Year-round operation: Most mini split systems function as heat pumps, providing both cooling and heating by reversing the refrigerant cycle depending on the season
Choosing the Right Location for Indoor and Outdoor Units
Placement is one of the most consequential decisions in any mini split installation. A correctly sized system in the wrong location will still underperform, and placement mistakes made during installation are difficult and expensive to correct after the fact.
For indoor unit placement, the key principles are:
- Mount the unit high on the wall, near the ceiling line, to allow conditioned air to fall naturally through the room and warm air to rise toward the unit during heating mode
- Position the unit centrally relative to the room, where possible, to promote even air distribution across the full floor area
- Keep the airflow path clear of furniture, shelving, and curtains that would interrupt the distribution pattern
- Avoid locations near heat sources, appliances, or windows with direct sun exposure, which cause the unit to read artificially high ambient temperatures and run unnecessarily
For outdoor unit placement, the priorities are:
- A stable, level mounting surface, either a concrete pad or properly rated brackets, that keeps the unit secure and vibration-free during operation
- Minimum two feet of clearance on all sides for adequate heat rejection airflow
- Elevation at least twelve inches above grade to protect against flooding during heavy rainfall, which is a real consideration in Decatur during the summer storm season
- Sufficient clearance around the unit for a technician to access service ports and electrical connections without removing landscaping or structural elements
The Professional Installation Process
A properly executed mini split installation follows a defined sequence. Shortcuts at any stage create performance problems that are difficult to trace and correct after the system is running.
The key steps in a professional installation include:
Mounting the indoor unit: The wall bracket is secured into structural framing at the correct height and orientation. The unit must be level to ensure proper drainage from the condensate pan. The wall penetration for the line set is cut at the correct angle to allow condensate to drain out of the building by gravity.
Installing the outdoor unit: The unit is placed on its pad or bracket with all required clearances confirmed. Mounting hardware is rated for the local wind and weather conditions to prevent movement or damage during high-wind events.
Running and connecting the line set: The refrigerant lines, electrical wiring, and condensate drain are bundled and routed between the two units. The line set is secured to the exterior wall and protected from UV exposure and physical damage. Connection fittings are torqued to manufacturer specifications to prevent refrigerant leaks at the joints.
Electrical connections: The indoor unit is wired to the dedicated circuit at the electrical panel, and the communication wiring between the indoor and outdoor units is connected at both ends. All electrical work must meet local code requirements and be performed by a licensed technician.
System evacuation: Before the refrigerant is released into the line set, the lines are evacuated using a vacuum pump to remove air and moisture. This step is critical. Air and moisture in the refrigerant circuit reduce efficiency and can cause long-term damage to the compressor. A proper evacuation holds a vacuum for a defined period to confirm the system is leak-free before charging.
System commissioning and testing: The system is started and tested across its full operating range. Refrigerant pressures are verified against manufacturer specifications, control functions are confirmed, and the installation is inspected for any issues before the work is considered complete.
Maintenance After Installation
The performance and longevity of a mini split system depend heavily on what happens after installation. A system that receives consistent maintenance delivers on its efficiency ratings and reaches its full service life. One that is neglected will develop issues sooner and cost more to operate.
Essential maintenance practices for Decatur homeowners include:
Annual professional service: A trained technician inspects refrigerant levels, cleans coils, checks electrical connections, and evaluates overall system performance. Our AC maintenance visits are designed to catch developing issues before they become failures.
Filter cleaning and replacement: Indoor units have filters that collect dust and debris as air passes through. These should be cleaned monthly during periods of heavy use. Our AC and furnace air filter replacement service is included in a regular maintenance visit.
Outdoor unit clearance: Leaves, grass clippings, and debris accumulate around the condenser unit, restricting airflow. Keeping the area clear ensures the unit can reject heat effectively throughout the cooling season.
Condensate drain inspection: The drain line carries moisture away from the indoor unit. Clogs cause water to back up and leak from the unit, leading to moisture damage and potential mold growth inside the air handler

Getting Your Decatur Mini Split Installation Right
A mini split system is a long-term investment, and the return on that investment starts with a professional installation that follows every step correctly. If you are considering a mini split for your home or have questions about an existing system, contact us today and let us walk you through the right solution for your space.